


The first opportunity for a FMCG start-up to grab the attention of a potential customer online is by using attractive designs and imagery to peak their curiosity. You don’t need to spend a lot to shoot good images.
Before working at Go Desi, I was working at a mid-sized corporation and my role there was consistent and predictable. Soon after joining Go Desi, I realised that working in start-up is a different ball game - you’ll be picking up new responsibilities more frequently and your role will evolve at a much faster pace than you expect as the company grows.

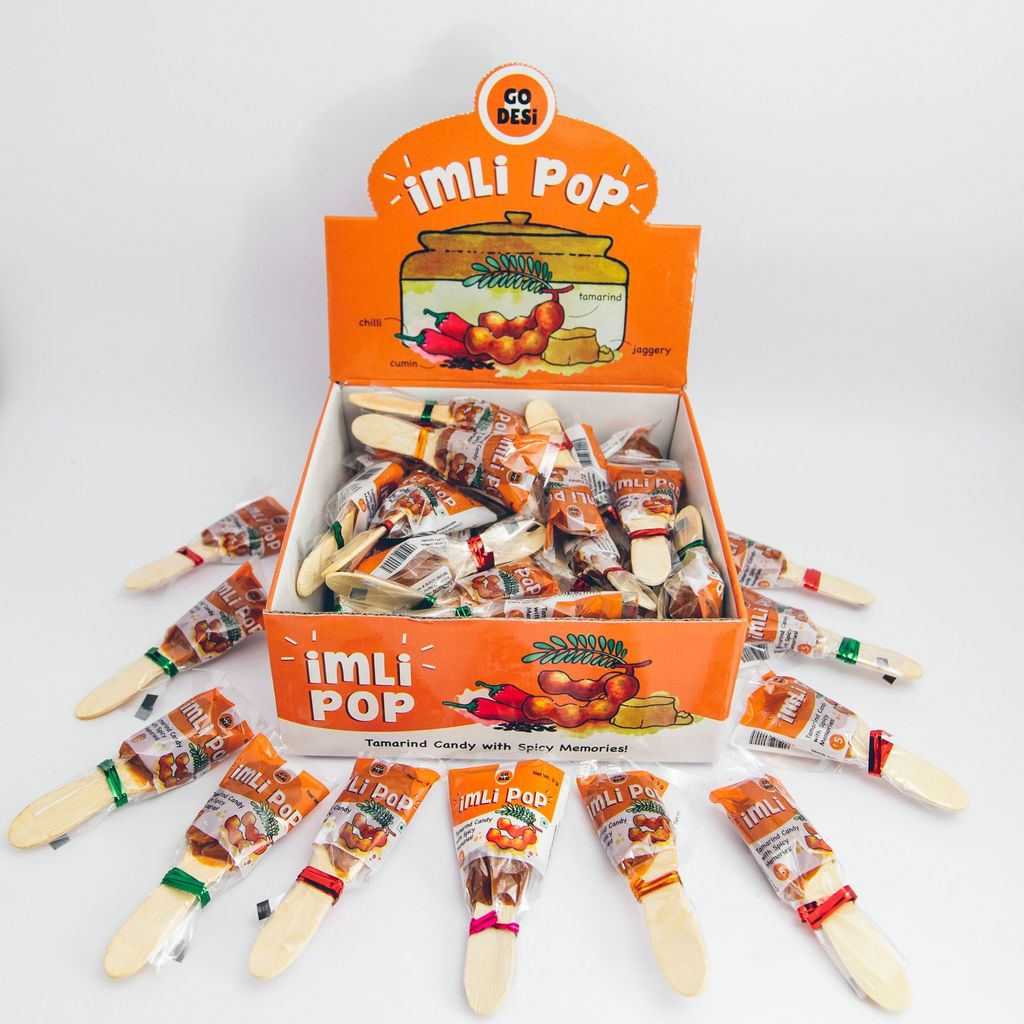
Recently, our product packaging designs went through a complete overhaul and once this packaging was ready, the next step was to conduct a photo shoot before we unveil our new designs. At a start-up, you need to be sure what you allocate your capital to and if you can do something in-house rather than outsource it - that’s perfect. So, when it came time to take pictures of the new packaging, I raised my hand saying that I could do it - why hire a professional photographer when you’ve got an Operations Manager who likes taking pictures every now and then. To be honest, I’ve never done a product shoot before, I’ve always been into shooting landscapes but never products. This was a new exciting challenge, like many that I’ve encountered while working here.

A breakdown of the process of how we shot these images without spending more than ₹500 ($7) for the entire shoot:
- Research and initial shot plan - Each product’s packaging design uses a unique colour and I wanted it to flow beyond the packaging. So, I gathered some inspiration using Pinterest on how I wanted the pictures to turn out.
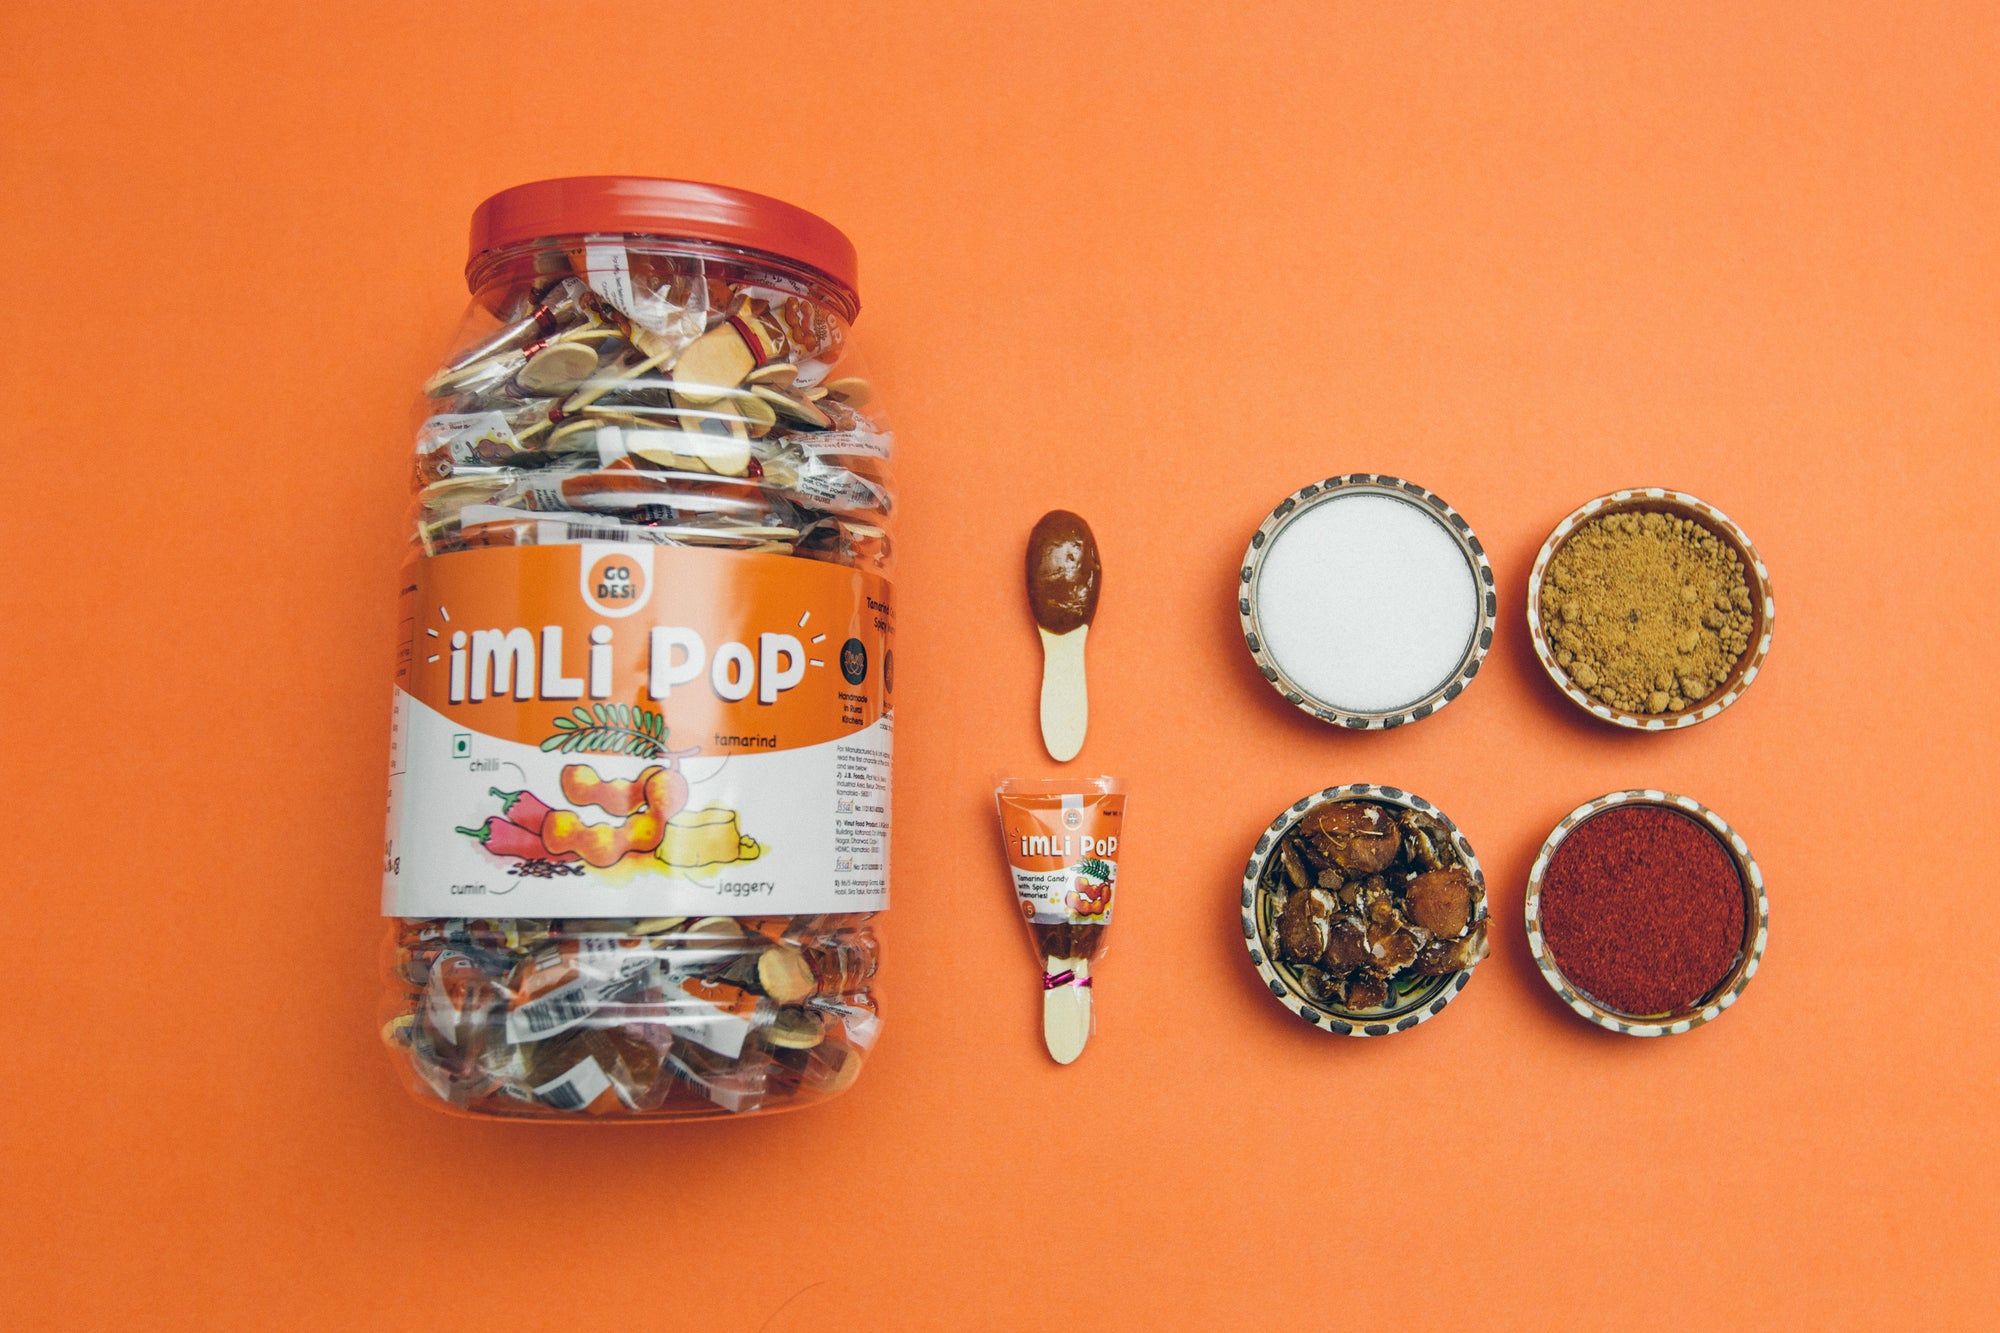
- Run around the city to hunt for different coloured A2 sized chart paper to match the packaging.
- Rummage through the house for props to use in the shoot.
- Buy Play-Doh - yes, you read it correctly. Despite, it being something that only kids play with, the colourful clay was the perfect camouflage to get the products displayed in the correct angle.
- Convert your garage into a studio - why rent a studio if you can stick white paper to boxes to use it as a diffusor/reflector for combat the harsh light from the flash.
- Positioning of the flash - Arguably, the most crucial step of the whole process. You never point the flash directly at the product, always try bouncing the light off a bright surface to diffuse the light. This article will do a better job explaining it - https://expertphotography.com/how-to-take-better-photos-indoors-external-flash/ :)
- Edit the pictures with a photo editor like Adobe Lightroom to take it to the next level.